What is Microsoft SNDS?
SNDS is a Microsoft service providing email senders with insights into their email traffic, delivery, and reputation. It helps identify and resolve issues related to email delivery, ensuring better communication between senders and recipients. Whereas SNDS full form is Smart Network Data Services.
If you have ever heard of Postmaster by Google? Then SNDS is like Postmaster, but by Microsoft. It gives you crucial data about your email campaigns measured only against Outlook.com users. Here’s what you can measure:
- Spam complaints
- IP reputation
- Emails volume
- Spam traps
- Bounce rate
This data will help you measure your campaign’s performance and will be discussed in detail in upcoming sections. But before that, let’s talk about why you should care.
Why should you use Microsoft SNDS
Outlook domains capture a good portion of 4.1 billion email users. And if the majority of your email subscribers are Outlook.com users, then there is no better tool to get accurate data from than Microsoft SNDS. Apart from tracking, it also helps IP owners to detect compromised servers, malware, viruses, and botnets.
Besides that, Microsoft SNDS gathers all essential data in one place. So you don’t have to juggle between multiple tools and waste your time. This helps you see where you’re in your marketing efforts and work on improving them.
But before you track any data, you’ve to follow a setup process to configure your sender IP address. Follow these steps to see (and act) how it’s done.
How to set up Microsoft SNDS
Follow these steps to set up your IP address on SNDS:
- Go to the login page.
- Enter your Email, Phone, or Skype, and click Next.

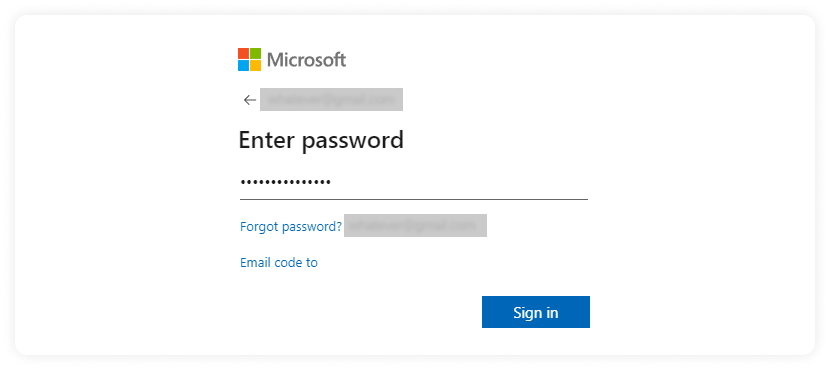
- Enter your password and click Sign in.

- Go to the request page, enter the IPs you’re responsible for, and click Submit. Just enter a single IP if you only manage a single IP. You’ve to enter the IP range if you manage multiple of them.

- The next page will show you a list of confirmation email addresses. Choose the appropriate email and get it verified.
Wait for a while until SNDS gathers all your data. After SNDS completes the collection, you can see it and analyze different metrics. Here’s what you get in SNDS:
5 Data points Microsoft SNDS provide
It’s time to look up the numbers of your email campaigns. Let’s see what SNDS has to offer:
1. Spam complaints
Not everyone likes everyone. You may be sending valuable content to your users, but they may mark you as spam for various reasons. This report shows the number of spam complaints you’ve received from Outlook domain users. If this is higher than normal, you need to take action to control it.
You can start by creating a sunset policy and removing unengaged users. Then you can create an email cadence that’ll guide you to respect your users’ inboxes and, in turn, make them happy.
2. IP reputation
IP reputation is the measurement of the trustworthiness of a sender's IP. If your sender IP has a history of sending spam and malware to Outlook users, you’ll see a bad IP reputation. On the other hand, if you’ve maintained a good relationship with your users, you’ll see a healthy IP reputation. Again, if your IP has a bad reputation, consider moving to a dedicated IP address instead of a shared one, as it can improve your IP reputation.
3. Emails volume
This feature will help you know how many emails you’ve sent to Outlook email users (Hotmail emails also included). You can get a rough estimate of the total number of Outlook users that comprise your email list. So you may use this metric to your advantage and send personalized emails to Outlook users.
4. Spam traps
Spam traps are just what they sound. They are traps set by email providers to eliminate spammers. Unfortunately, genuine email marketers like you can accidentally become part of this group. So this feature of SNDS lets you know your spam traps report, and you need to improve it if you don’t see an acceptable score.
5. Bounce rate
Bounced emails are failed emails that didn’t make it to your users’ inboxes. This report will show you the bounce percentage of your IP address. Try keeping it below 2% to enjoy good email deliverability rates.
Takeaways
In the words of Valentino Crawford, “You cannot change what you don’t manage; you cannot manage what you don’t track.” So, you must track your email campaigns with tools like SNDS that give you crucial data about your email campaigns to see a positive change in your email deliverability.
Talking about email deliverability, there are numerous ways to improve it, and you must keep updating yourself about new techniques. So to save you time on research, we’ve collated a list of ways to improve email deliverability. Check it out, and you may find a few techniques you never knew existed.


